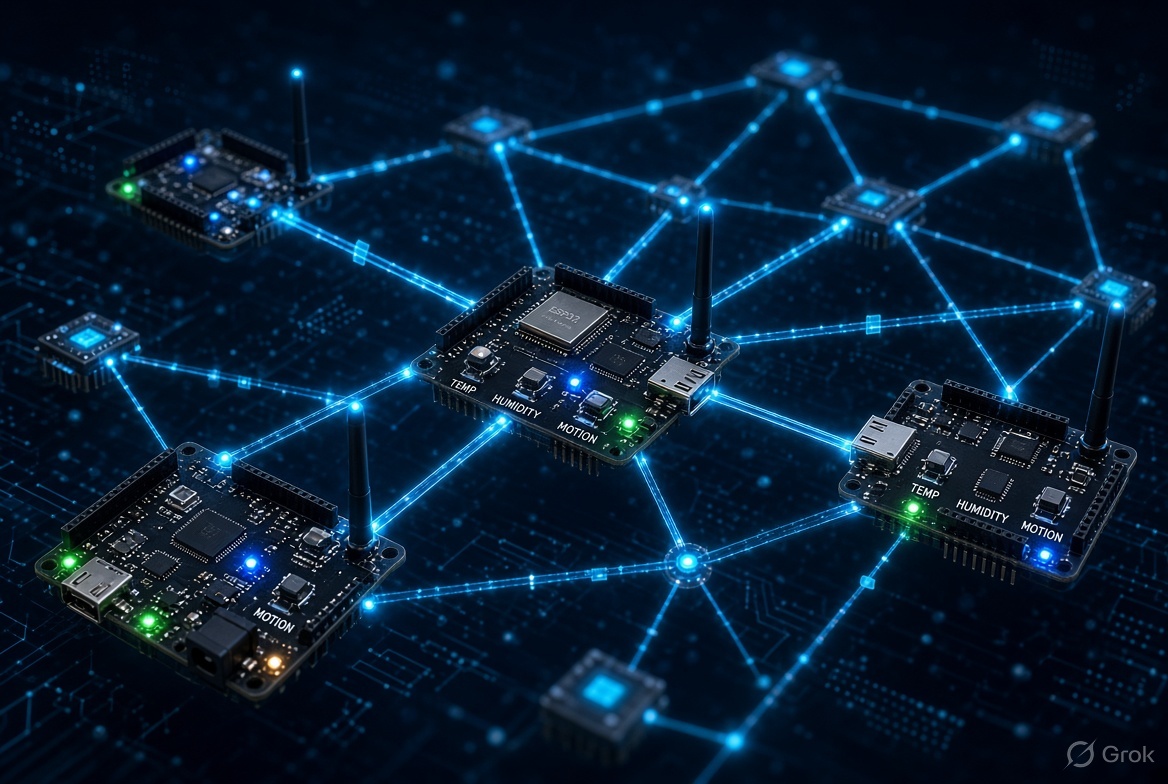
Developing and commissioning a MeshCore sensor node requires more advanced knowledge compared to repeater, companion, or room server variants. This is due to the multitude of potential application scenarios and the resulting need for individual adaptations, making factory pre-configuration impractical. Sensor nodes must therefore be designed specifically for their intended purpose, such as monitoring water levels in a tank.
Development Environment Setup
For sensor node development, Visual Studio Code (VSCode) is required. After installing VSCode, the PlatformIO extension needs to be installed. PlatformIO is an open-source ecosystem for embedded systems development, providing a platform-independent development environment.
Next, clone the MeshCore firmware repository using Git:
Starting Point: The Sensor Example
The sensor firmware acts as a template that already includes most of the necessary components. It is located in the project tree under /examples/simple_sensor. For typical customizations, modifying the main.cpp file is usually sufficient. Here, a class named MyMesh is defined, which inherits from SensorMesh. This base class provides all the fundamental infrastructure and necessary hooks required for sensor functionality.
Configuring Board Variants
Many supported boards already have a predefined PlatformIO environment for the simple_sensor example, such as [env:Heltec_v3_sensor]. However, it might be necessary to define your own environment in a platformio.ini file within one of the /variant folders.
This configuration specifies the build rules and dependencies for the particular board and firmware role combination. It may also be necessary to modify the target.h and target.cpp files of the variant. These target modules instantiate various global objects, as shown in the EnvironmentSensorManager example:
EnvironmentSensorManager is a versatile helper class also used in other firmware types (e.g., repeater). It handles the low-level management of physical sensors like BME180s. Most of these functions are already implemented. However, it is typically required to explicitly enable the modules used in your node. This is done in the variant's platformio.ini using build_flags:
Core Concepts
A MeshCore sensor node can utilize the following features:
- Alerts (with High or Low priority)
- Telemetry queries (other nodes can pull telemetry data)
- Time series data
- Custom CLI command logic (e.g., 'turn switch A on')
- Telemetry push subscriptions (to be supported soon)
Alerts
The example demonstrates the alert function using the Trigger class and alertIf() calls:
High priority alerts (HIGH_PRI_ALERT) will retry sending to nodes in the ACL (Access Control List) that have the PERM_RECV_ALERTS_HI bit set, and wait for an ACK, similar to text messages. Low priority alerts (LOW_PRI_ALERT) only send the message once and do not wait for an ACK. These are sent to nodes in the ACL with the PERM_RECV_ALERTS_LO bit set.
Telemetry
Telemetry is a core mechanism in MeshCore and largely automated. The target/variant sensor object handles the LPP (Low Power Payload) encoding of all collected telemetry readings.
Normally, other nodes need to request telemetry from your sensor node, and a telemetry response is then sent. However, soon it will also be possible to subscribe to telemetry push. Here, the sensor node sends telemetry packets to subscribers, but only when certain values change by a minimum amount. For example, a subscriber could send a SUBSCRIBE request and specify that the temperature must change by at least 2 degrees Celsius to trigger a push.
Telemetry push will likely include safeguards to minimize abuse:
- Subscriptions will have a timeout (returned in the subscribe response), requiring subscribers to re-subscribe periodically.
- A region scope must be used (as a fallback if a direct path is not established).
- The subscriber must specify which LPP channels/types and the minimum deltas these must change by to trigger a push.
Time Series Data
The sensor can collect periodic readings and store them in volatile memory in a circular buffer using the TimeSeriesData helper class. For example:
Remote nodes can then send min/max/average queries to the sensor node, specifying a time range. To achieve this, the querySeriesData() method must be overridden as shown above. The return value indicates the number of data series supported by this node.
Custom CLI Commands
Remote nodes can also enable actuators of different types, such as turning an LED on/off or moving a servo, by adding custom CLI command logic. This is done in the handleCustomCommand() method:
This method is relatively straightforward to adapt to your sensor node's specific requirements. Returning true indicates that the command was intercepted and handled. The CLI response is written to the reply buffer and sent back to the command sender node.